Scan, Discover, Share, and Preserve your Photos
Scan your old photographs, store the originals in archival materials, and then back up everything. This post explains why scanning your family archive is beneficial. Learn about different archival storage options. And remember to make back ups of your digital files!
There are many easy-to-use scanners available these days, and scanning can help you preserve and share your family photos, albums, and 35mm slides.
So, here are different ways scanning photographs and archival storage can benefit your family history.

Large or Fragile Images

This large 11 x 14″ antique photograph shows the old family homestead during the 1870s. This one-of-a-kind image was mounted to a sheet of non-acid free board which has now become brittle with age.

By scanning this image before storing it, you can enlarge sections to help identify specific family members and other details in the image. You can also print copies of it for your photo album, or to email to other family members for their own collections or for help in identifying the people, places, dates, and events.
The scan offers access to the image while the fragile original can be safely stored in a resealable Crystal Clear Bag with a sheet of acid-free White Card Stock for support. Store it with other large family photos or documents in a 1-1/2″ or 3″ deep Drop Front Box, which will provide a safe, archival environment for decades to come.
Tintypes and Other Small Photos
19th century tintypes are traditionally rather dark and small. By scanning them it is possible to brighten the scans for clarity.

Scanning photographs also allows you to make various temporary tone adjustments, making information written on the back easier to read. It also allows you to enlarge them to reveal dramatic detail that is otherwise lost in small format images like tintypes and snapshots.

Once scanned, name and organize your photographs however you’d like. You can name or group files based on family relations (mom’s family / dad’s family / etc.); by era (19th century / 1950s / etc.); or by type of photograph (tintypes / snapshots / 35mm slide images / photo album pages / etc.).

After scanning archivally store the originals to reduce the amount of handling they endure. Using tintypes as an example, here are some ways that small photographs and snapshots can be stored for long-term preservation and easy access.

Placed in individual HD Poly Envelopes, then into appropriately sized Metal Edge Boxes
Placed in Print Pages, backed with Acid-Free Card Stock which you can write on with archival Pencils or Markers
Placed in a Crystal Clear Bag, backed with Acid-Free Card Stock
Placed in a Collector Grade Binder, or other archival three-ring binder or box
Reviving Negatives
Scanning can give you access to otherwise undiscovered or unseen negatives—that don’t have corresponding prints—that might be in your family archive. Below is a black and white negative from the 1930s and a color negative from the 1960s. They were scanned and then inverted using software that came with the scanner.

After scanning, you can place your negatives in an acid-free enclosure such as the Side Loading Film Sleeve, or in an HD Poly Envelope. Then store multiple negatives in a 4 x 6 Archive Envelope, which is available separately or comes as part of the 4 x 6 Archive 900 Kit.

Finding Treasures in 35mm Slides
35mm slides are one-of-a-kind images that were usually projected for viewing, rather than printed. If you have them in your collection there might be some great family photographs that you can scan and print.

Choose a scanner that comes with templates or holders for scanning 35mm slides and strips of film negatives. This will allow you to unlock the secrets of these otherwise hidden treasure troves of family history. Alternatively, you can look for a company that will do the scanning for you.

Once scanned, store your slides in 35mm Slide Pages and then in an acid-free binder. These pages are good if you don’t have a lot of slides and you want to store them with other items in your collection. For larger slide quantities, use 35mm Slide Boxes. Sold in packages of three, they will hold 200 slides per box. Our 35mm Slide Storage Kit-1200 holds up to 1,200 slides and our 35mm Slide Storage Kit-2400 holds up to 2,400 slides. Both kits come in tan, black, and gray options.
Photos in Albums
This is one of my all-time favorite family photographs! Yet it has been buried for decades between the pages of an old photo album. The solution? Scanning photographs from your albums will allow you to print them out and frame them, share them, and add them to your own family photo albums. Then you can store the original albums using archival supplies.

Scanning old albums is more challenging than loose photographs. The books are often large and fragile. You could outsource the project to a professional Photo Manager, or you could use your phone to photograph the pages or individual photos in the albums. There are even scanning apps available for your phone.
If the album has room, you can place Archival Tissue between the pages for added protection. Store each album in an unsealed Polyethylene Bag and then in a Metal Edge Box, available in different styles and sizes.

Scanning Oversize Photographs
This large, fragile image was scanned in two sections and seamlessly stitched together with software that came with the scanner. The print was placed in a Crystal Clear Bag with Card Stock backing for support, and then in a Drop Front Box.

Once scanned, a copy was made that includes a numbered key to who’s in the photograph, an identification made possible by simply asking grandma—the only person who actually knows because she’s in this 70+ year old photo.
A printout of this keyed image was then placed across from a print from the scan (without the numbers and key) in archival 8-1/2 x 11″ Print Pages, and then into a Collector Grade Binder as part of the family photo album.
It’s Not Just for Photos!
While we’ve been discussing the value of scanning photographs throughout this blog, the same procedures can be used for all sorts of family letters, genealogy records, important documents, and cherished family recipes!

This well-used family recipe book is literally falling apart. By scanning the important recipes within, they can be printed out and placed in protective Print Pages inside an archival binder. You can use the recipes and share them with family members.
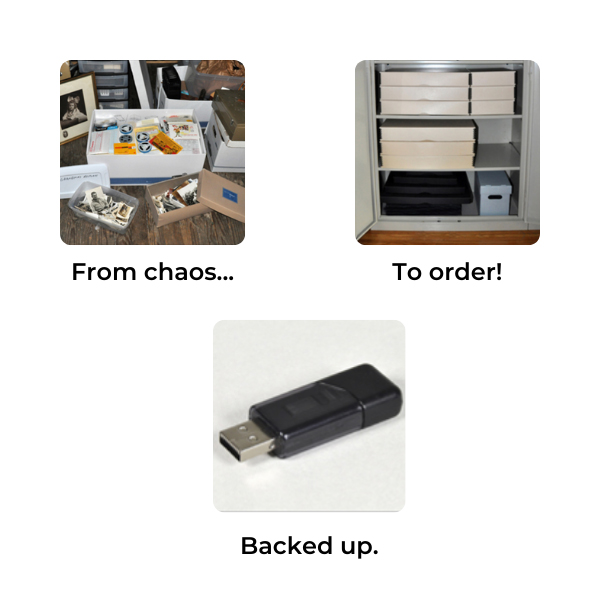
The Importance of Back Ups
Scanning your photos makes them more accessible and easier to share. We encourage you to store the originals in archival storage supplies after you have scanned them. Lastly, back up your scans! You can back up your image files on the cloud or on an external hard drive or thumb drive.

It’s very important to back up your files when scanning photographs or documents. If you have a lot of thumb drives and memory cards, organize and store them in our USB & Memory Card Storage Kit.
Please call or email us with any additional questions you may have on preserving photographs in your family archive.